Tutorial

Free Digital Cutting Files, Tutorial

Cupid Suspension Card – KNK Design Team Project

Hi Guys!

Today I am sharing my first post as part of the Team KNK Design Team in case you didn’t see it at the time. My project was first posted in January and was a card for Valentines Day but the heart card base can also be used for other occasions such as Anniversaries or Engagements by replacing the cupid with a different image or smaller heart to spin in the middle.

As we have a couple of weeks until Valentines Day I thought I’d sneak in with a Valentines card just in time. I have a Suspension card for you today, a suspension card sounds complicated but it is simply where an element of your card is suspended by thread which allows it to spin, it’s an easy way to create a lot of impact.

If you wish to make today’s card all you will need is your chosen KNK machine along with some card, thread and adhesive as I have included the cut files I made for this project for you to download at the end of this post.

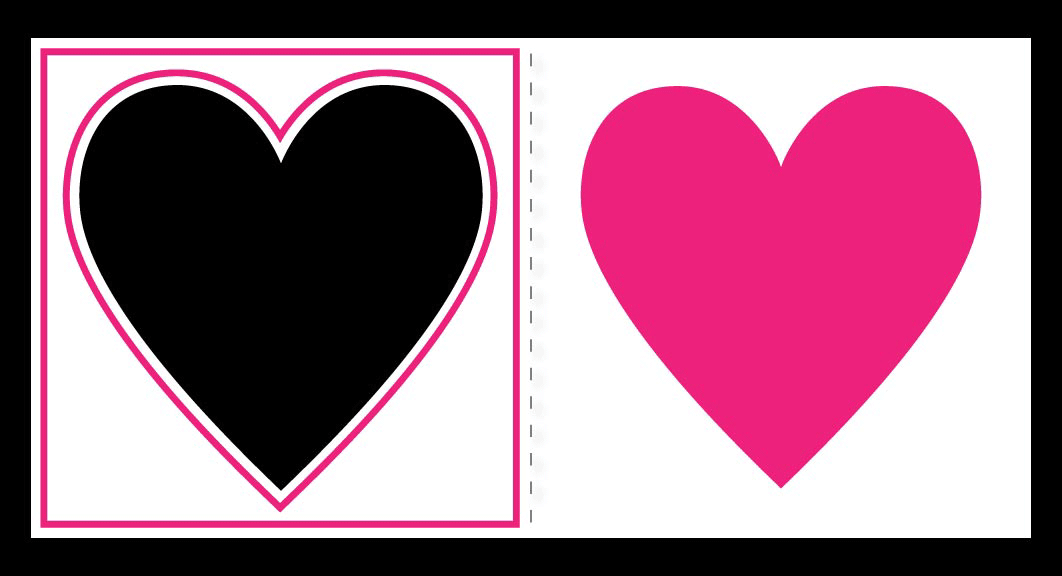
I used Make the Cut to cut one copy of the heart card along with 2 copies of the cupid (ensuring that he fits inside the heart card opening). If you are using single sided paper or textured card you will need to use the mirror function for one of your cupids. All of the pieces you need for this project are shown in the picture below.

Cupid Suspension Card 1

To assemble your card, add some thread to the front of the card base, down the center of the heart opening. Using invisible sewing thread or fishing line can be a great choice as it is difficult to see once the card is finished but any thread will be just fine. Using a strong adhesive tape is recommended here, I have used a red liner type.

Cupid Suspension Card 2

Once you have added your thread you can add the front layer to your card which will hide your adhesive. At this stage I also added my heart (cut from glitter card) to the inside of my card base, it will fit just inside the heart opening and show through when the card is closed.

Cupid Suspension Card 3

Now we need to assemble our little cupids. I’d advise attaching the hair and wings with glue then adding the extra body piece and arm with 3d foam pads or glue dots to add some dimension. The bow and arrow is glued to the back of each completed cupid.

Cupid Suspension Card 4

Cover one of your cupids with adhesive tape then open up your card and lay him under the thread.

Cupid Suspension Card 5


Lay the other cupid over the top of the first to sandwich the thread between the two of them and you are done! This is how your card will look when it is closed.

Cupid Suspension Card 6

When your card stands open your cupid will spin and you can aim him towards the heart inside the card if you like ;)

Cupid Suspension Card 7

Here’s how the card looks straight on when it’s open.

Cupid Suspension Card 8

Here are your Free Cut Files – Formats: ai, dxf, gsd, mtc, pdf, studio & svg:
(click on the link below the image to download)

Cupid by Bird

Cupid Digital Cutting File by Bird

Heart Card by Bird

Heart Card Digital Cutting File by Bird

Tutorial

Box Envelopes – Photo Tutorial

Hello!!

I have a photo tutorial for you today showing how I make box type envelopes for my dimensional cards that are too thick to put into a normal envelope so If you too love adding 3d flowers or big puffy bows to your cards, this could be a really handy envelope for you. I haven’t sent any cards through the post in one of these but it is a protective way to house a card until it is handed to its recipient. I will walk you through my favourite size which is 6 inches square and half an inch deep then at the end I will share the measurements I use for other sizes/depths.

Equipment: (Use whatever suitable alternatives you have on hand)

300 gsm Card Stock

Martha Stewart Score Board

An embossing Stylus

Red Liner Tape

Scissors

Bone Folder

pic 1: Place the envelope maker (the triangular bit) onto your score board. As I am making an envelope for a 6 inch card I cut my card to 11 inches square, this size means that the card overhangs the score board but this is fine.

box envelope 1

pic 2: Score down your card at the 4 and an eighth inch mark on the envelope maker.

box envelope 2

pic 3: Keeping your card in the same place, score your card again at the 4 and five eighths inch mark, this gives you the depth of your box envelope. Turn your card and score all 4 sides in the same way.

box envelope 3

pic 4: I’ve marked the area to cut away from the top 2 intersecting sections.

box envelope 4

pic 5: I’ve marked the area to cut away from the bottom 2 intersecting sections.

box envelope 5

pic 6: This is how it should look after you’ve cut these sections away.

box envelope 6

pic 7: I’ve marked the line to cut in the bottom 2 corner sections to create tabs.

box envelope 7

pic 8: This is how your tabs should look.

box envelope 8

pic 9: Add some strong tape to the 2 tabs and the points of both side panels as shown.

box envelope 9

pic 10: Remove the liner from the tape and form the envelope, you may need to pop your bone folder inside to help the tabs stick down.

box envelope 10

pic 11: I dug out the most dimensional card I could find in my stash and it fits just fine.

box envelope 11

pic 12: I use some clear adhesive stickers to close my box envelopes but you could tie a ribbon around it and decorate to your hearts content :)

box envelope 12

Measurements for 6 Inch Square Box Envelopes:

Card Stock Size = 11″ x 11″

1/2″ Deep Sides – Score at 4 1/8″ and 4 5/8″

3/4″ Deep Sides – Score at 3 7/8″ and 4 5/8″

Measurements for 5 Inch Square Box Envelopes:

Card Stock Size = 9 3/8″ x 9 3/8″

1/2″ Deep Sides – Score at 3 1/2″ and 4″

3/4″ Deep Sides – Score at 3 1/4″ and 4″


I hope this is easy enough to follow, my craft table is a little cramped but I tried to make it as clear as I could and I will make a video version when I have my new craft room, you can wait til early next year, right? ;)

Tutorial

Rolled Flower Tutorial

Hello!

I’ve had some requests for some instructions on how I put my rolled flowers together so I’ve done a picture tutorial for you today with lots of pictures, you can see the 3 different rolled flowers in the picture below, each with its own colour to avoid confusion.

I’ve made my flowers today with light weight cardstock (layering weight) although in my previous posts I made these flowers with medium weight, heavy weight cardstock and a sturdy vellum, so they can be made out of anything really.

rolled flowers

These are the tools I use but don’t worry there are alternatives for each one. I use a stamping pad but a mouse mat or piece of foam will work just fine and I use tweezers to roll my flowers although a quilling tool works extremely well too. You will also need something with a round end, I have a large embossing stylus and a cake decorating sugar paste tool but you might have a round end on a paint brush etc which will do just fine.

rolled flower tools

I start at the smaller end which will be the middle petals, I trace around the edge of the petal with my stylus then run the stylus up and down the length of the petal to encourage it to curl inwards.

rolled flower 3k

I continue this for approx 2/3rds of the petals.

rolled flower 3i

I turn the flower over at this point and run my stylus across the petals from side to side to encourage the petals to curl downwards.

rolled flower 3h

When you have finished the outer petals your flower should look like this.

rolled flower 3g

Flip your flower back over and add some strong tape to the middle circle so it’s ready to go when you need it.

rolled flower 3f

Hold the smallest end with your tweezers as shown below and roll towards yourself.

rolled flower 3e

While you roll your flower ensure that the bottom edge stays in line.

rolled flower 3d

When your flower is fully rolled you can remove your tweezers.

rolled flower 3c

Remove the liner from your sticky tape.

rolled flower 3b

Fold the circle over the base ensuring all of the layers are stuck down.

rolled flower 3a

Flip your rose over onto its base and manipulate the petals with your fingers, tweezers or quilling tool until you are happy.

rolled flower 3 rolled

The daisy doesn’t require alot of shaping before being rolled, simply sweep a larger rounded tool along the length of the petals to add a gentle curl.

rolled flower 2 petals

This time I curled approximately 1/3rd of the petals inwards then flipped the flower over and curled the rest outward.

rolled flower 2 unrolled

I like the way my daisy looked when it was rolled up so I didn’t have to do any manipulation here, you can whip these up nice and quick :)

rolled flower 2 rolled

This rolled flower only needs a little curling on the edges of the petals, it didn’t look too attractive at this stage, I know ;)

rolled flower 1 unrolled

But it all turned out fine when it was rolled up! This is another really quick flower to put together.

rolled flower 1 rolled

I hope this was helpful to you :)